DIY Whitewashed Floors
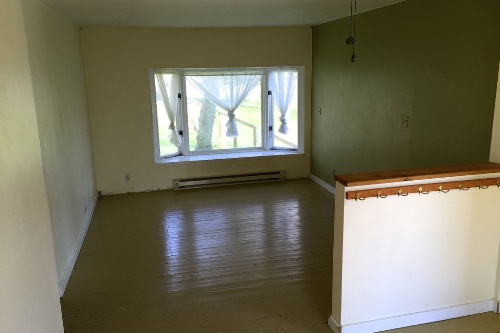
When we bought our house, the living room floor was painted this weird dark yellowy-green color. It wasn’t the worst, but it also wasn’t my taste and really, half the fun of owning your home is getting to update it to something you like.
Before:
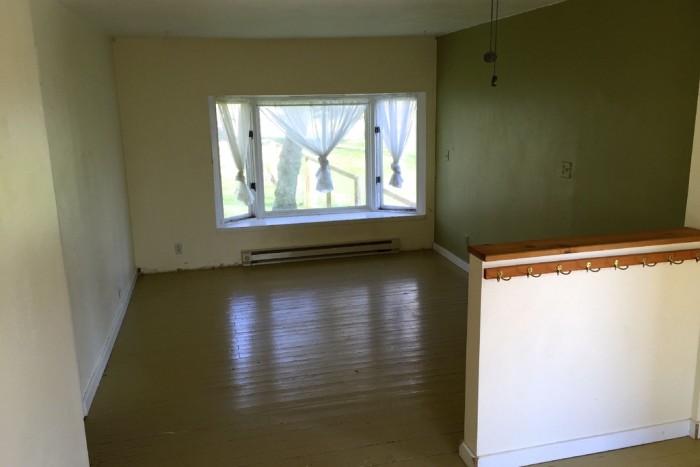
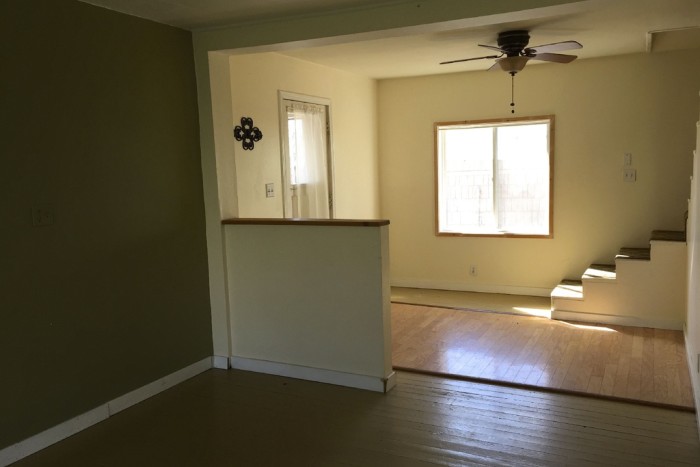
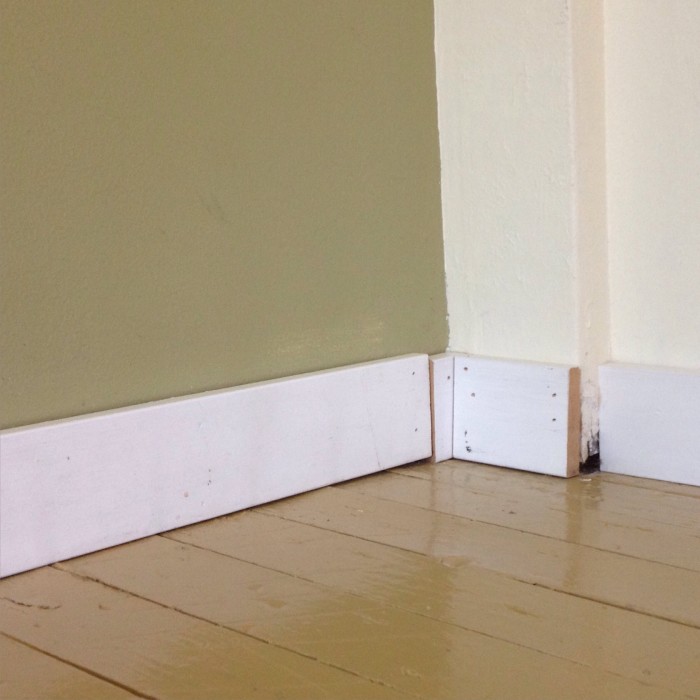
We initially contemplated about having a new hardwood flooring and laminate vinyl flooring installation or just to have a DIY project. Eventually, we embarked on a DIY floor refinishing project despite being complete novices at anything resembling home improvement. My ultimate goal was very light, semi-uniform-looking floorboards. It feels almost indescribably sinful to paint hardwoods, but our floors are fir (so not very hard) and have plug repairs, a largeish burn mark, and tons of puttied knots, nail holes, and other blemishes. In short, they’re not perfect. Plus, many of them are reddish, so whitewashing them seemed like a good solution in terms of unifying the color and lightening them up a bit while still being able to see the grain. Offer Hardwood Floor Technician Jobs or contracts to professional contractors to restore or replace your hardwood floors.
Step one: Removing Paint
We began by stripping the existing paint off the floors. This was extremely time-consuming, since the paint stripper had to sit on the floor for a minimum of four hours and it took about two to three hours to scrape a 2×4′ patch. The room is roughly 11×13′ plus a landing strip in front of the stairs that’s about 2×5′, so yeah, it took forever.
We used approximately four gallons of Back to Nature READYSTRIP paint stripper, and ended up spending roughly $140 total on it.
Step Two: Sanding
My dad suggested using a drum sander so this step would go quicker. (Mainly, I think he wanted an excuse to rent a drum sander.) He went ahead and rented one and we did a pass with 60 grit to see how well it worked, but ended up going with 40 grit to get all the paint up. This was followed by 60 and then 100 grit to finish off.
To get the edges, we used both a belt sander and an orbital sander. I think we ended up taking off probably 1/8″ of the boards total with all the sanding.
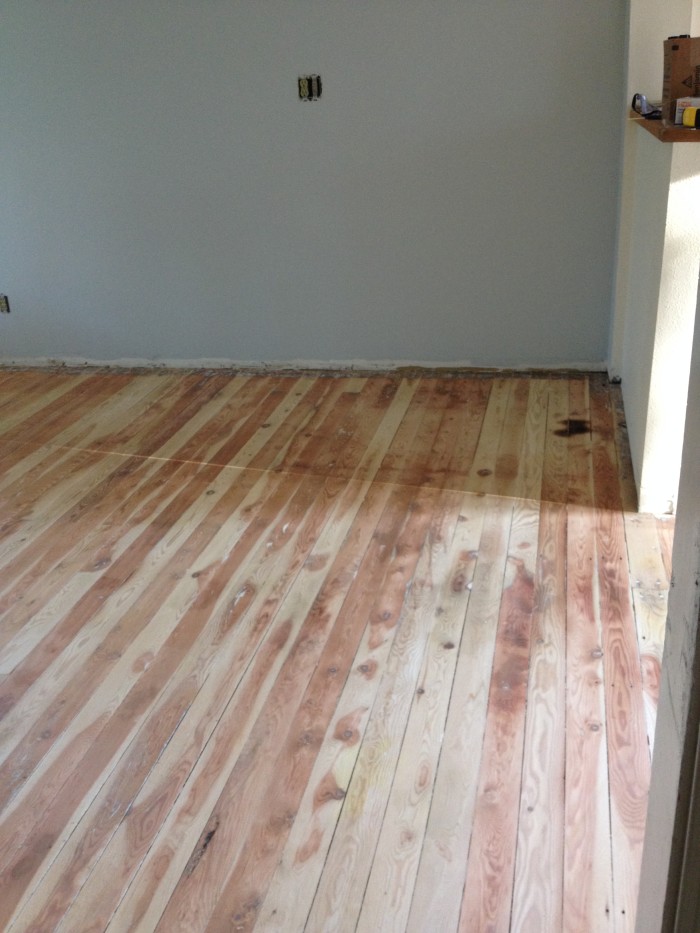
This is post-drum sander but pre-belt sander:
Step Three: Whitewashing
I was sort of flying blind here. We followed this blog post as a guideline, but like, what finish do you buy for the paint? Should I get any generic white or should I color match it to something? How fancy of paint do I get considering we will be watering it down anyway?
In the end, I went to Home Depot and got a gallon of Glidden paint in eggshell, color-matched to Simply White by Benjamin Moore, since that’s the color of our trim. It cost $17. I asked the nice man at the Home Depot paint counter to give me whatever was the cheapest. I hazarded a guess at the eggshell finish. Who knows. I doubt it matters terribly much!
I used a quart jar for measuring and mixed one part paint to four parts water. It looked really white when I painted it on, but since it’s mostly water it actually dried pretty clear-ish. I spent MANY hours doing the first coat and was pretty happy with how it evened out the reddish tone of the wood, but it was also pretty subtle.
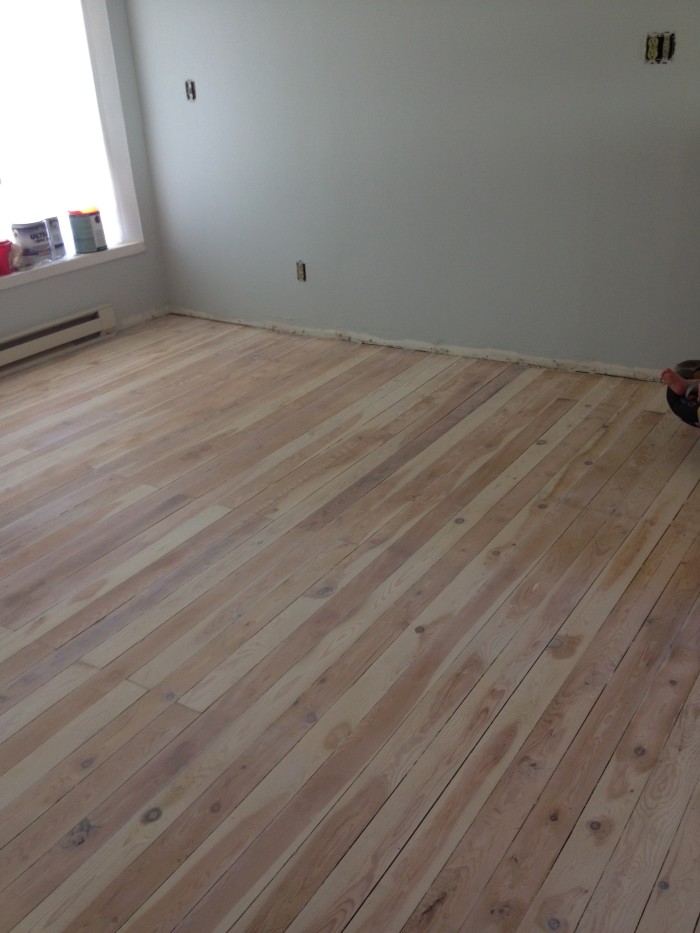
It looks a little different than the previous photo but you kind of have to think about it. After all that work, I decided I wanted it to look like we had done something to it, so I figured I should go whole hog and make it look whitewashed, not just “slightly lightened but still basically the same.” I embarked on a second and then a third coat once I realized how subtle a second coat still was.
Here’s the difference between three coats (left) and one coat (right):
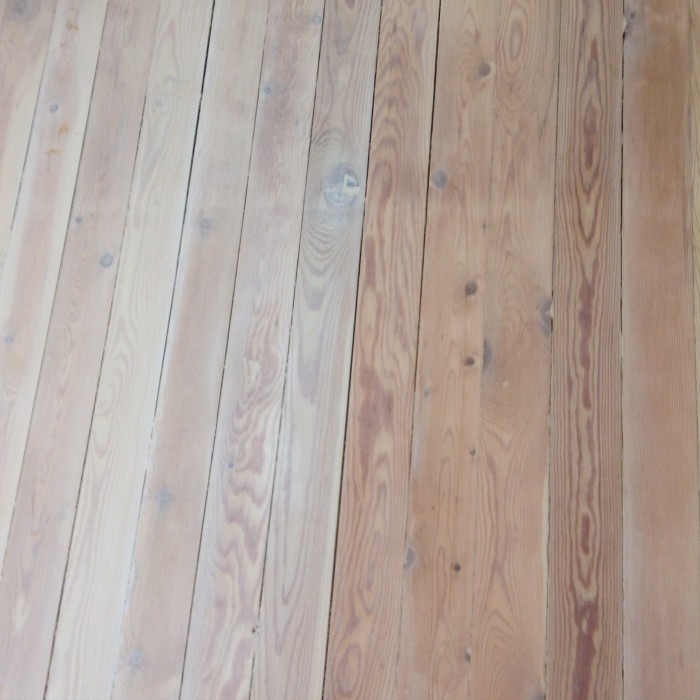
Each individual coat didn’t look that different from the previous one, like it was hard to tell one from two and two from three, but the difference between one and three was pretty pronounced. That made me feel a lot better about deciding to add more coats!
How did it end up?
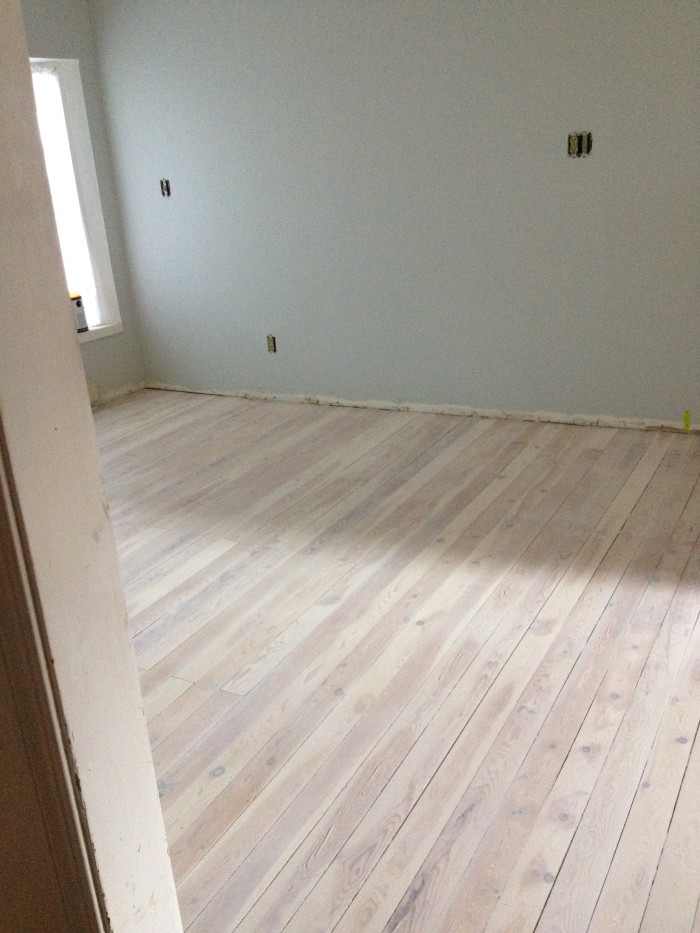
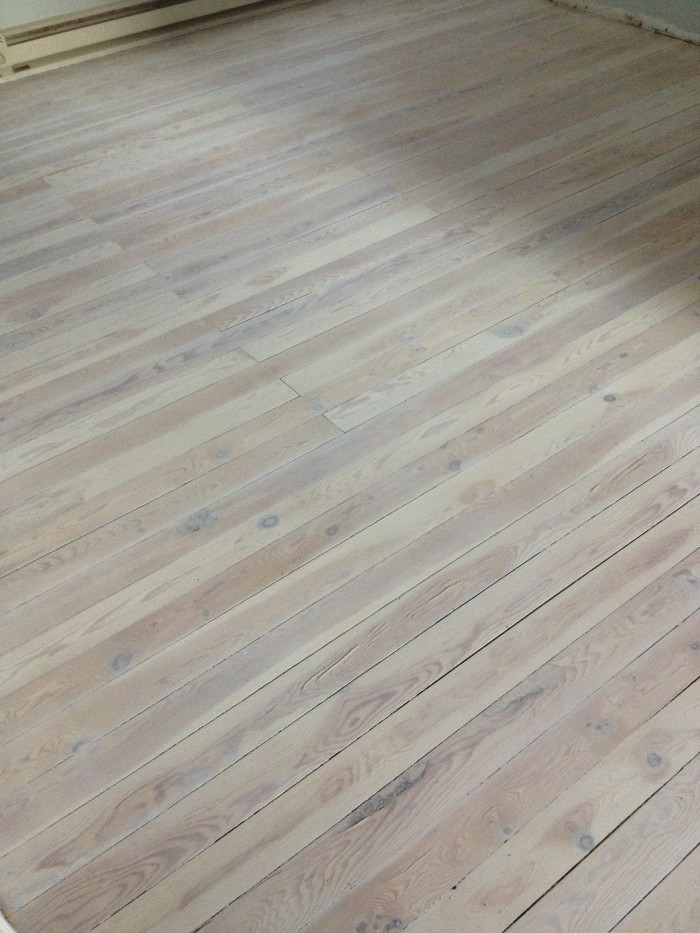
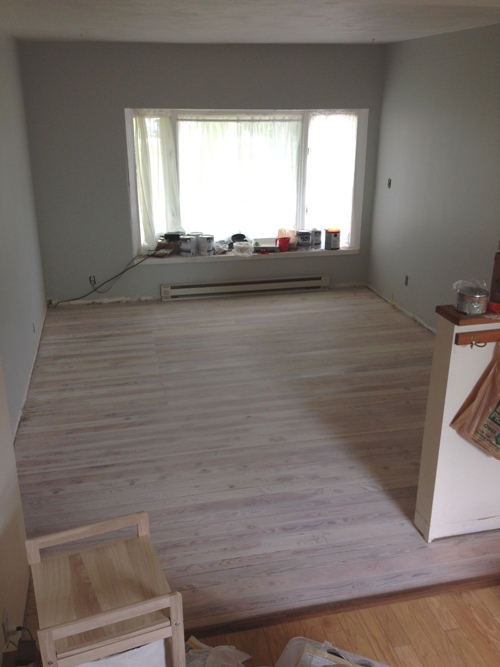
Look at that! It looks so gooooood! It’s like all of my Pinterest dreams come true! It looks all light and Nordic! Even though it was a ton of work, I am so glad I went with three coats of whitewash.
Step Four: Finishing
It was hard to determine how to finish the floor. All the blog posts I found either used a product not available in my country, or they mentioned specifically choosing non-yellowing polyurethane and then DIDN’T SAY WHAT THEY GOT. I was afraid of polyurethane because what if I picked a yellowy one and ruined my whitewashed floors? And you can’t walk on a freshly finished floor for X amount of hours which is NOT POSSIBLE for us given the layout of our house.
In the end, we went with Trewax clear paste wax which is a carnauba-based wax that specifically mentioned being used on floors. Reviews on Amazon said it was hard wearing and durable, even with kids and pets.
I don’t know anything about waxing floors but I went for it anyway. I started with actual cheesecloth but that ripped too easily, so I switched to a rag that was basically a white Hanes t-shirt. I put a golf-ball-sized lump of wax in the center, wrapped it up, and rubbed it on the floor. After about 5-10 minutes, I used a clean rag to buff the excess wax off. Repeat x10000000 boards. (Somebody who actually knows how to refinish floors is probably clutching her heart and cursing my name right now, but hey, we all gotta start somewhere.)
I liked the finish – it smoothed the boards out a bit and it doesn’t really look any different. Marginally shinier.
Step Five: Rejoicing
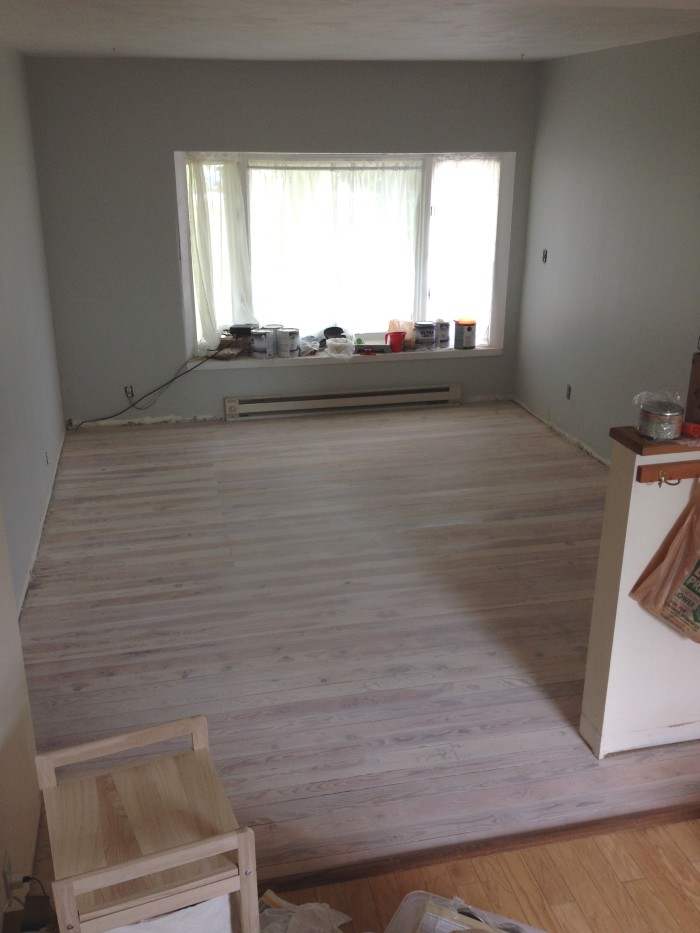
I AM SO GLAD TO BE DONE.
We can finally start using the living room like a living room instead of it being this empty hole that sucks all our free time. My dad is going to help us put up our new trim soon so I expect this room to look super nice afterward.
And now for some dramatic before-and-afters:
Before:
After:
File Under: House
1 Comment
YAY! This looks so good. How many hours total did you spend? It must have been lots.